Cut off my arms. That’s how I feel when I’m missing certain tools in my filmmaking kit. My Sony hybrid camera (the venerable A7siii), my Rode VideoMic, and increasingly my iPhone 15 Pro.
These are not the newest tools. I sincerely believe that having the latest gear doesn’t make you necessarily a better filmmaker. A really good filmmaker will tell beautiful stories using a potato. But Getting to know the tools you have–inside and out–makes all the difference (and can save you truckloads of cash).
Anyway, back to the iPhone.
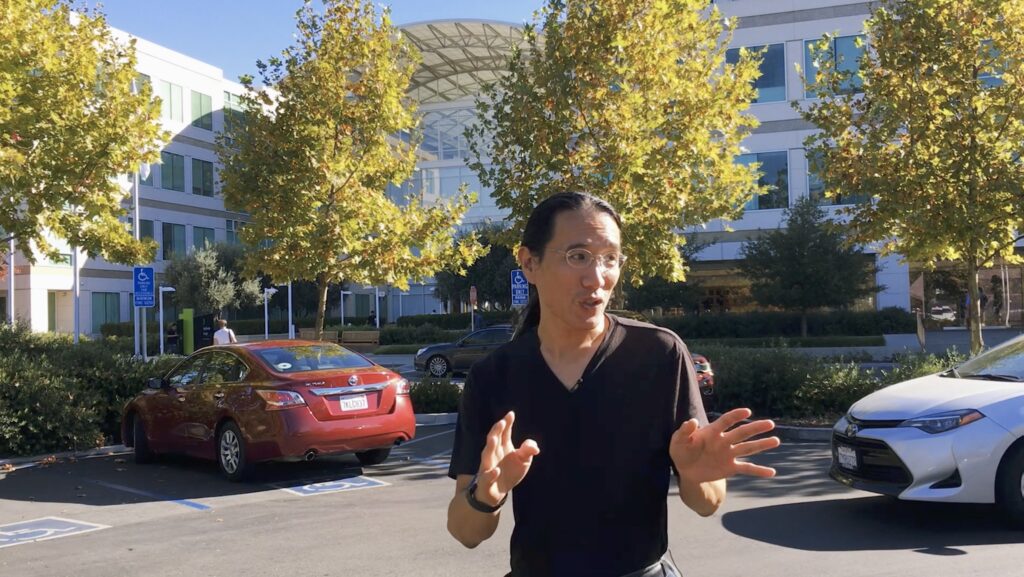
I’m not new to shooting on iPhone. In 2018 I wanted to shoot a scene for my film, Love Notes to Newton, outside Apple’s old HQ in California. We shot it in the parking lot with my iPhone 5s and a hidden lavalier mic, and nobody noticed (or cared). There was no Apple Log, no ProRes, not even 24p in those days, and the footage looked great.
But when the iPhone 15 came out–with Apple Log, ProRes, etc.– I was overjoyed. I knew it would be a game-changer. On top of that, Blackmagic released their Camera app (for free!), and watching a few tutorials convinced me that it could be a formidable tool.
I picked up a used iPhone (because why would you buy anything full-price?), began shooting, and of course I was… disappointed. At least at first.
The iPhone, despite Apple’s marketing, is not a drop-in replacement for a pro camera. It doesn’t do shallow depth of field (please don’t use the cinema mode with its fake-blurry-background, yuck!), it (mostly) isn’t great in low light, and at the end of the day I just like the look of my pro camera better. Plus, there’s really only one (and a half) focal length on the iPhone that actually looks clean and without noise in normal lighting, and that’s the 1x lens. The 3x zoom is too dark to be really useful in anything except bright light. I ended up shooting some bad footage in bad situations where I thought the iPhone would shine. It was a potato, and I was using it wrong.
I thought “fine, at least it’s a phone” and pocketed it. It turns out that it just needed the right circumstances to shine. I continued to experiment with it at my daughter’s sporting events and other familial functions.
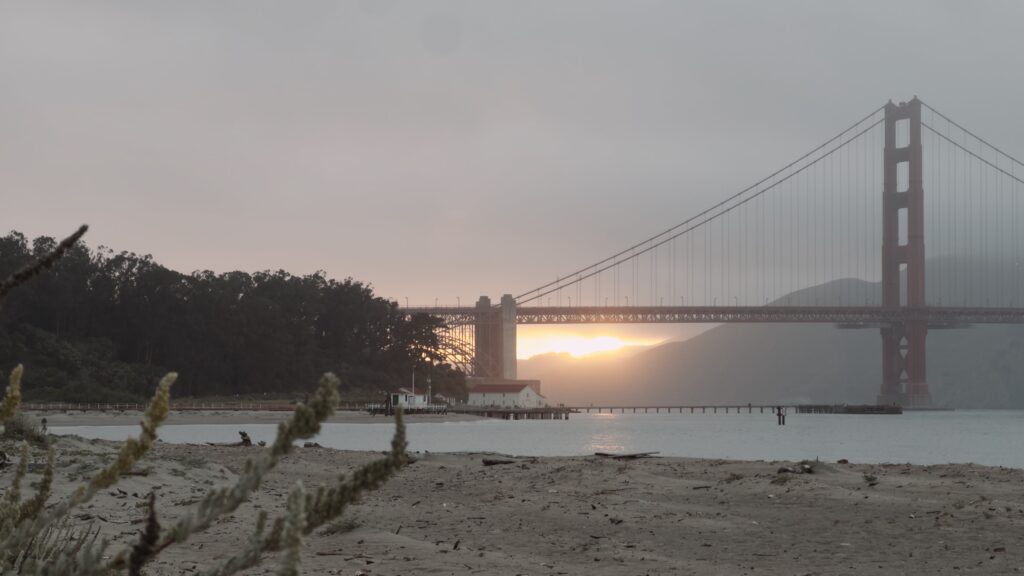
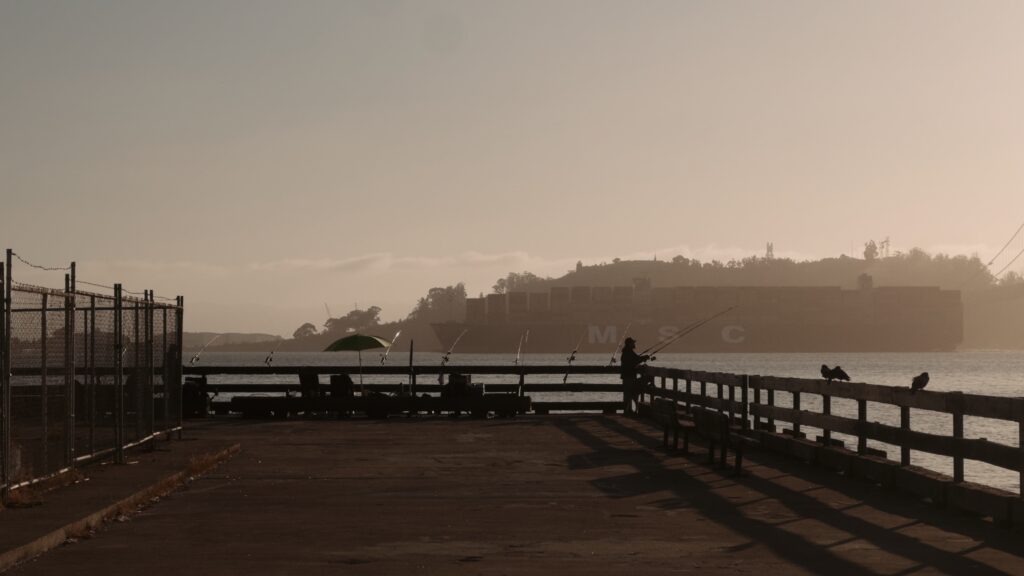
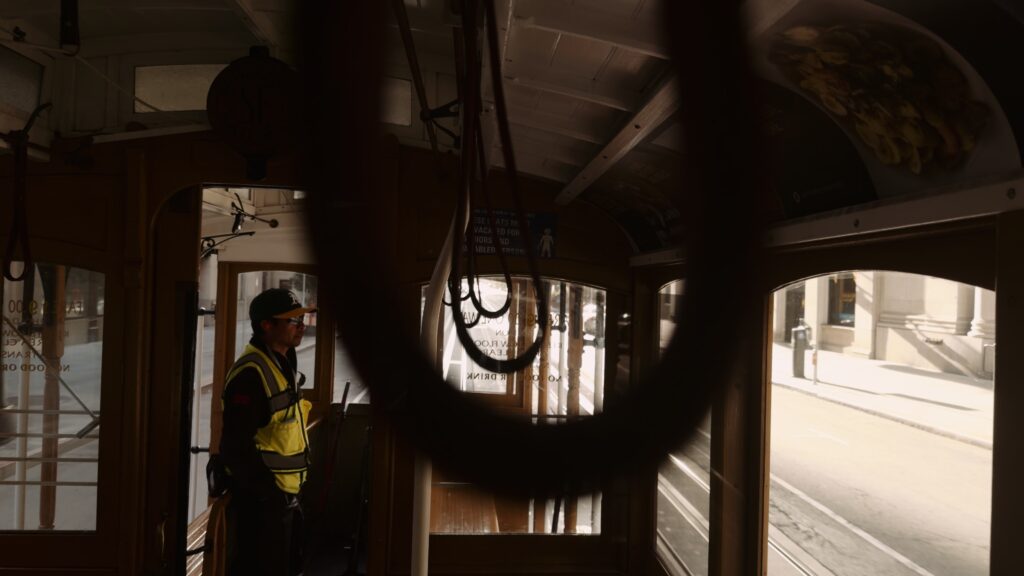
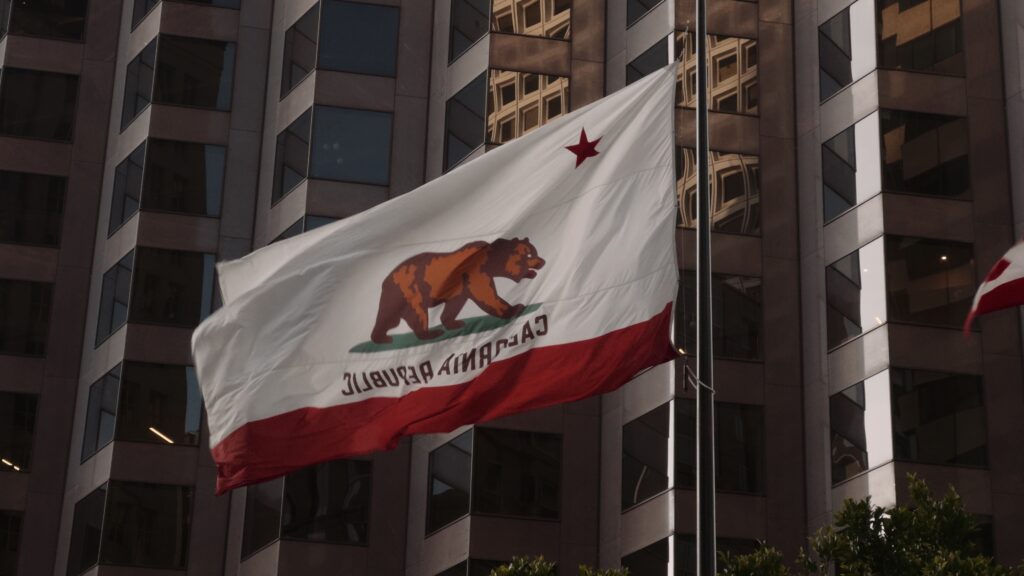
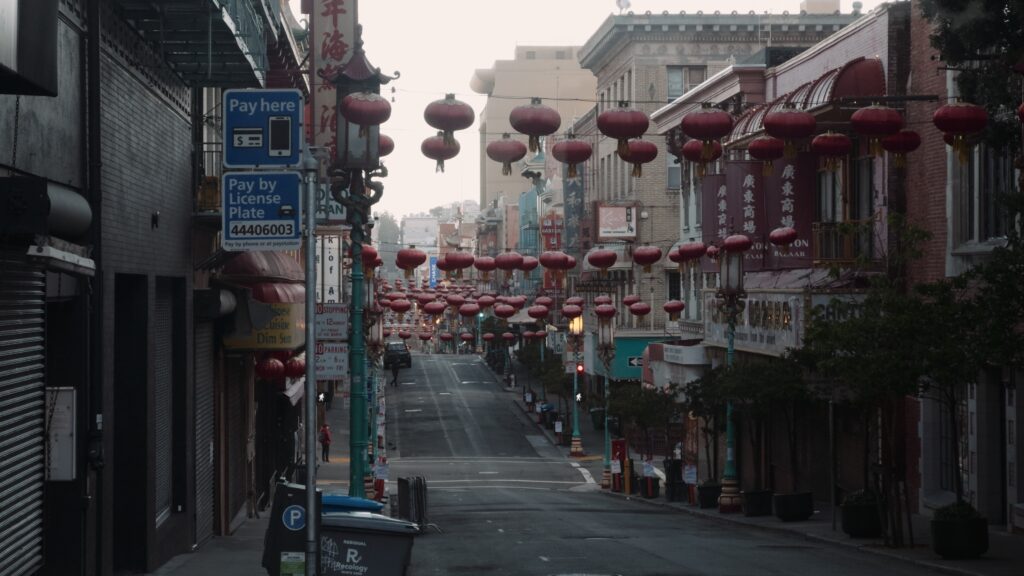
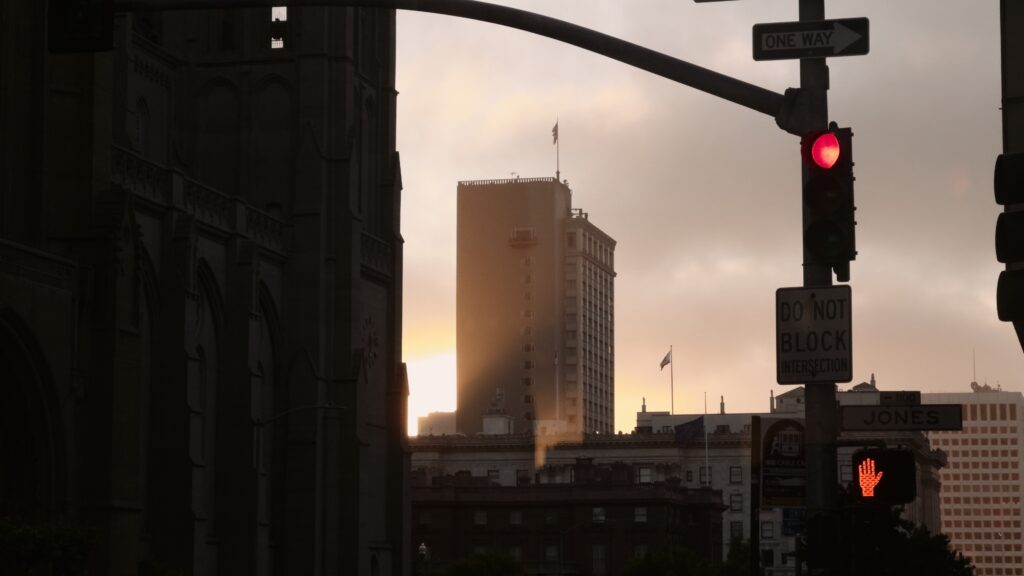
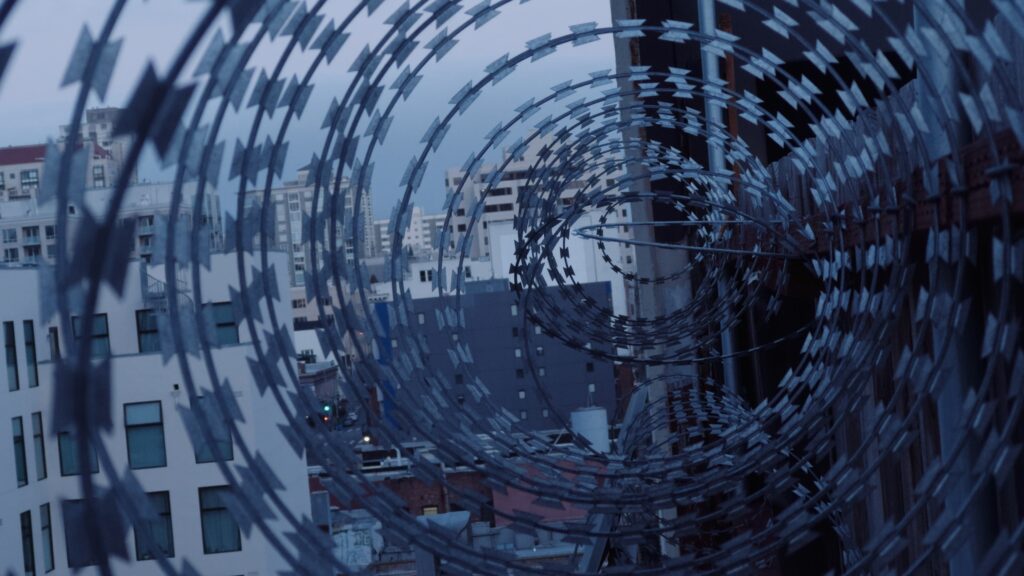
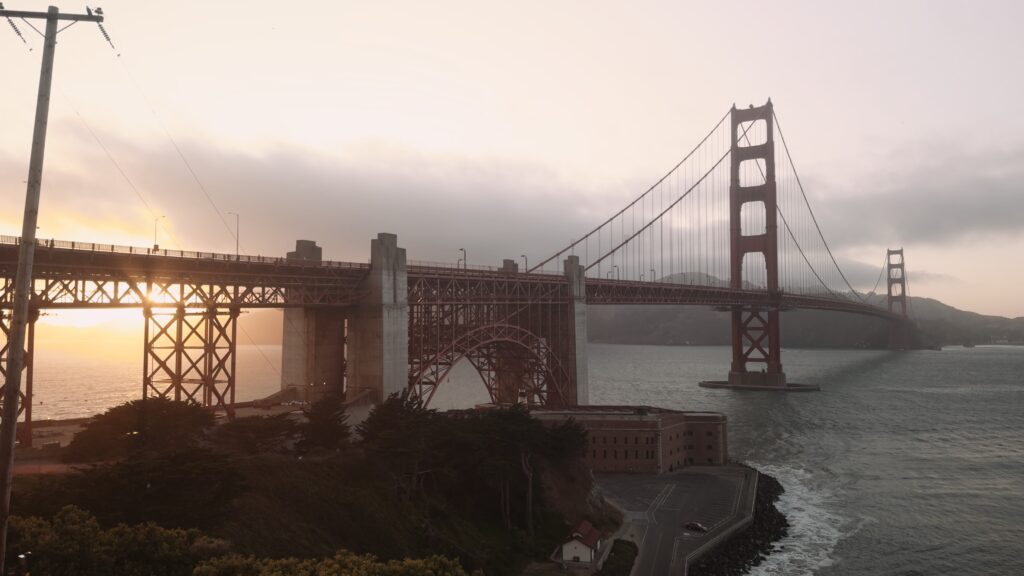
The change came for me on a shoot in San Francisco. We were shooting interviews, a lot of interviews, and I knew we would be impoverished for b-roll. We needed cutaways to intercut with the footage, but there was not enough time in the schedule to get them. So I grabbed my iPhone and headed out early in the morning, and late at night.
By this time I had added a neutral ND filter (adjustable sunglasses, basically) to my phone. It allows me to control the amount of light coming into the camera. Since the iPhone doesn’t have a variable aperture like a “real” camera, this is important, and in fact I use ND on my “real” camera, too. The goal is to keep a 180-degree shutter, or 1/50 (more or less) shutter speed on the camera. This gives a pleasing amount of motion-blur on-camera which makes it nearly impossible to tell that the footage was shot on a phone camera.
I set the Blackmagic Camera app to record 24p in Apple Log, and used the HEVC codec, since it’s almost as good as ProRes, but generates much smaller files. It’s a good compromise.
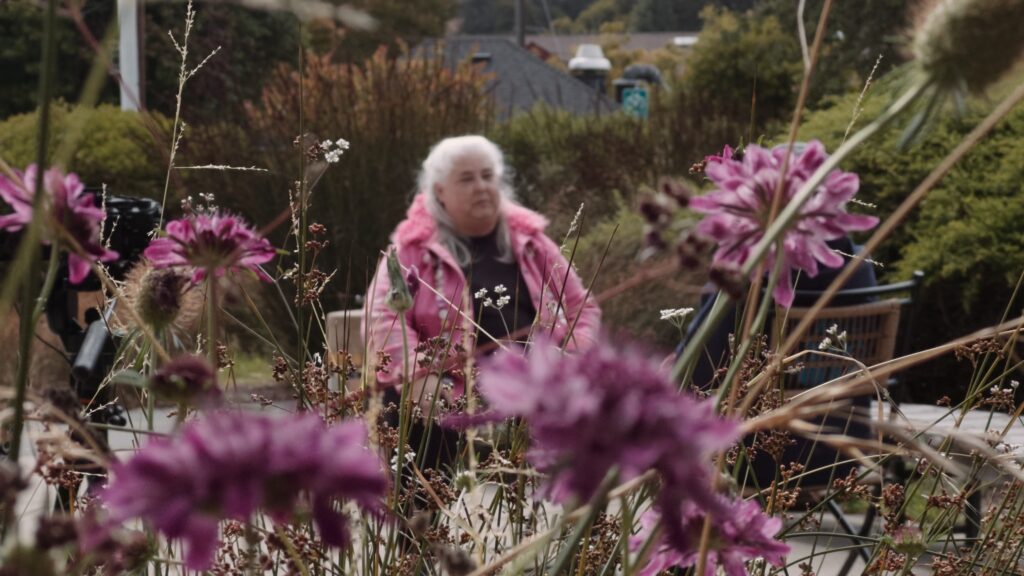
Here are some of the results:
It’s important to do a few things to get the most out of these tiny cameras:
- Expose for highlights. When you set your exposure in the Blackmagic app, tap on the brightest part of the image, so your scene has pleasing contrast and doesn’t “blow-out” the highlights in the image. It’s better to have inky blacks than blown-out highlights.
- Use AppleLog. You don’t have to use ProRes, but set the camera to record AppleLog and then set the LUT (look-up-table) so that your iPhone gives you a corrected image. Log shooting records more dynamic range, causing your footage to look washed out. You fix this by adding a look-up-table (LUT) in post (for me, Final Cut Pro).
- Don’t use the built-in camera app. Use Blackmagic Camera or Final Cut Camera. They’re both free, and once you learn how manual camera settings work, you won’t want to go back to the built-in camera app. iPhone by default does a lot of unwanted processing on the image. For example it might expose for a bright background and a dark foreground, when you want the foreground to appear in silhouette. It also adds sharpening, and probably some other special-sauce which makes your footage say I WAS SHOT ON A PHONE!! Not necessarily a bad thing, but not what we’re going for as filmmakers.
- Practice good composition. The lenses on the iPhone 15 Pro that are the cleanest are the 1x and to a lesser extend the 0.5x lenses (newer models will vary). In the Blackmagic app these are listed as 13mm and 24mm (which is not technically true, but I digress). These are really excellent for scenery, landscapes, water, architecture. Basically, establishing shots and contemplative cutaways. The long lens is actually excellent also in the right situation, which is: copious light, and scenes with depth. For example, people walking towards the camera on a crowded street.
- Shoot people and activities. I know this appears to go against the point above, but I would think of it as simply a different mode of shooting. Too many YouTubers and camera testers avoid shooting people, but learning to shoot people casually in documentary situations is an essential skill and will make your b-roll a thousand times more interesting to look at. If you are nervous about shooting humans, look at how Philip Bloom does it. He’s respectful and tasteful, and as far as I know nobody feels spied upon the way he does it.
- Respect the limits of the camera. It’s not for everything, and if you are going to use it for interviews, etc., make sure you feed it good quality light and record good sound, because sound is half the picture. I use a lav mic with a recorder, and sync the sound later, but YMMV. Good sound can save a bad image. At the end of the day, people look better on my Sony, but the iPhone will do in a pinch.
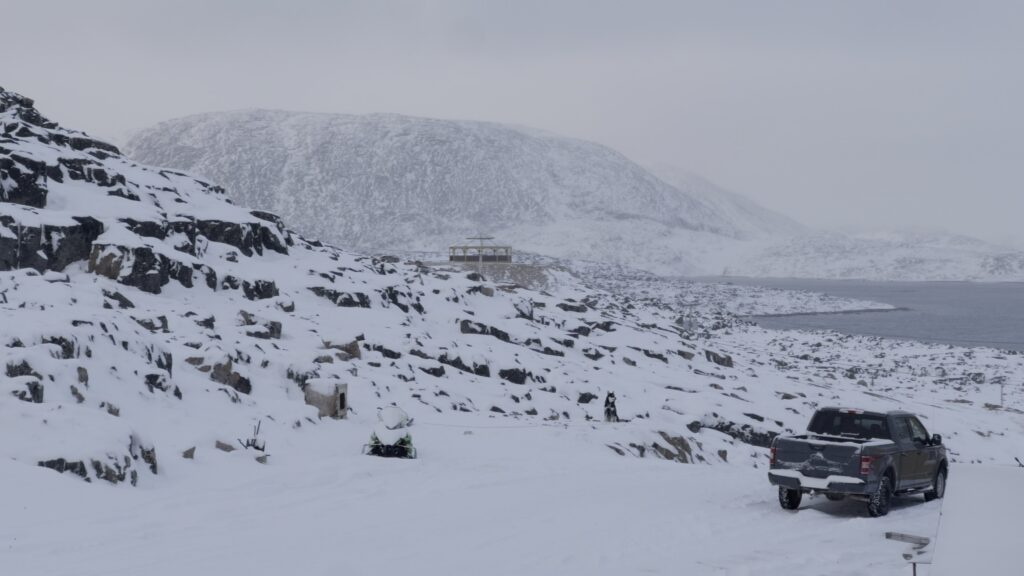
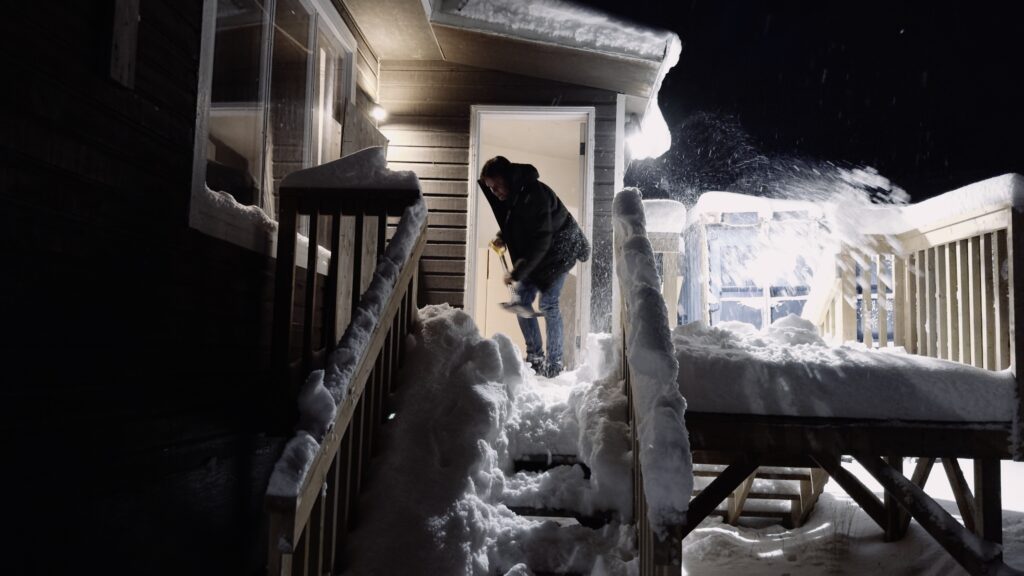
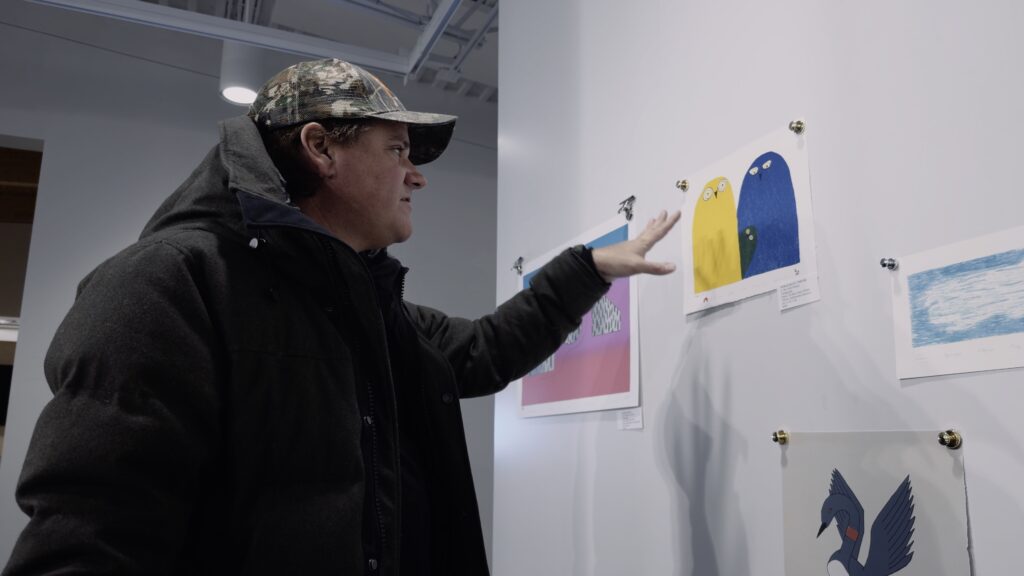
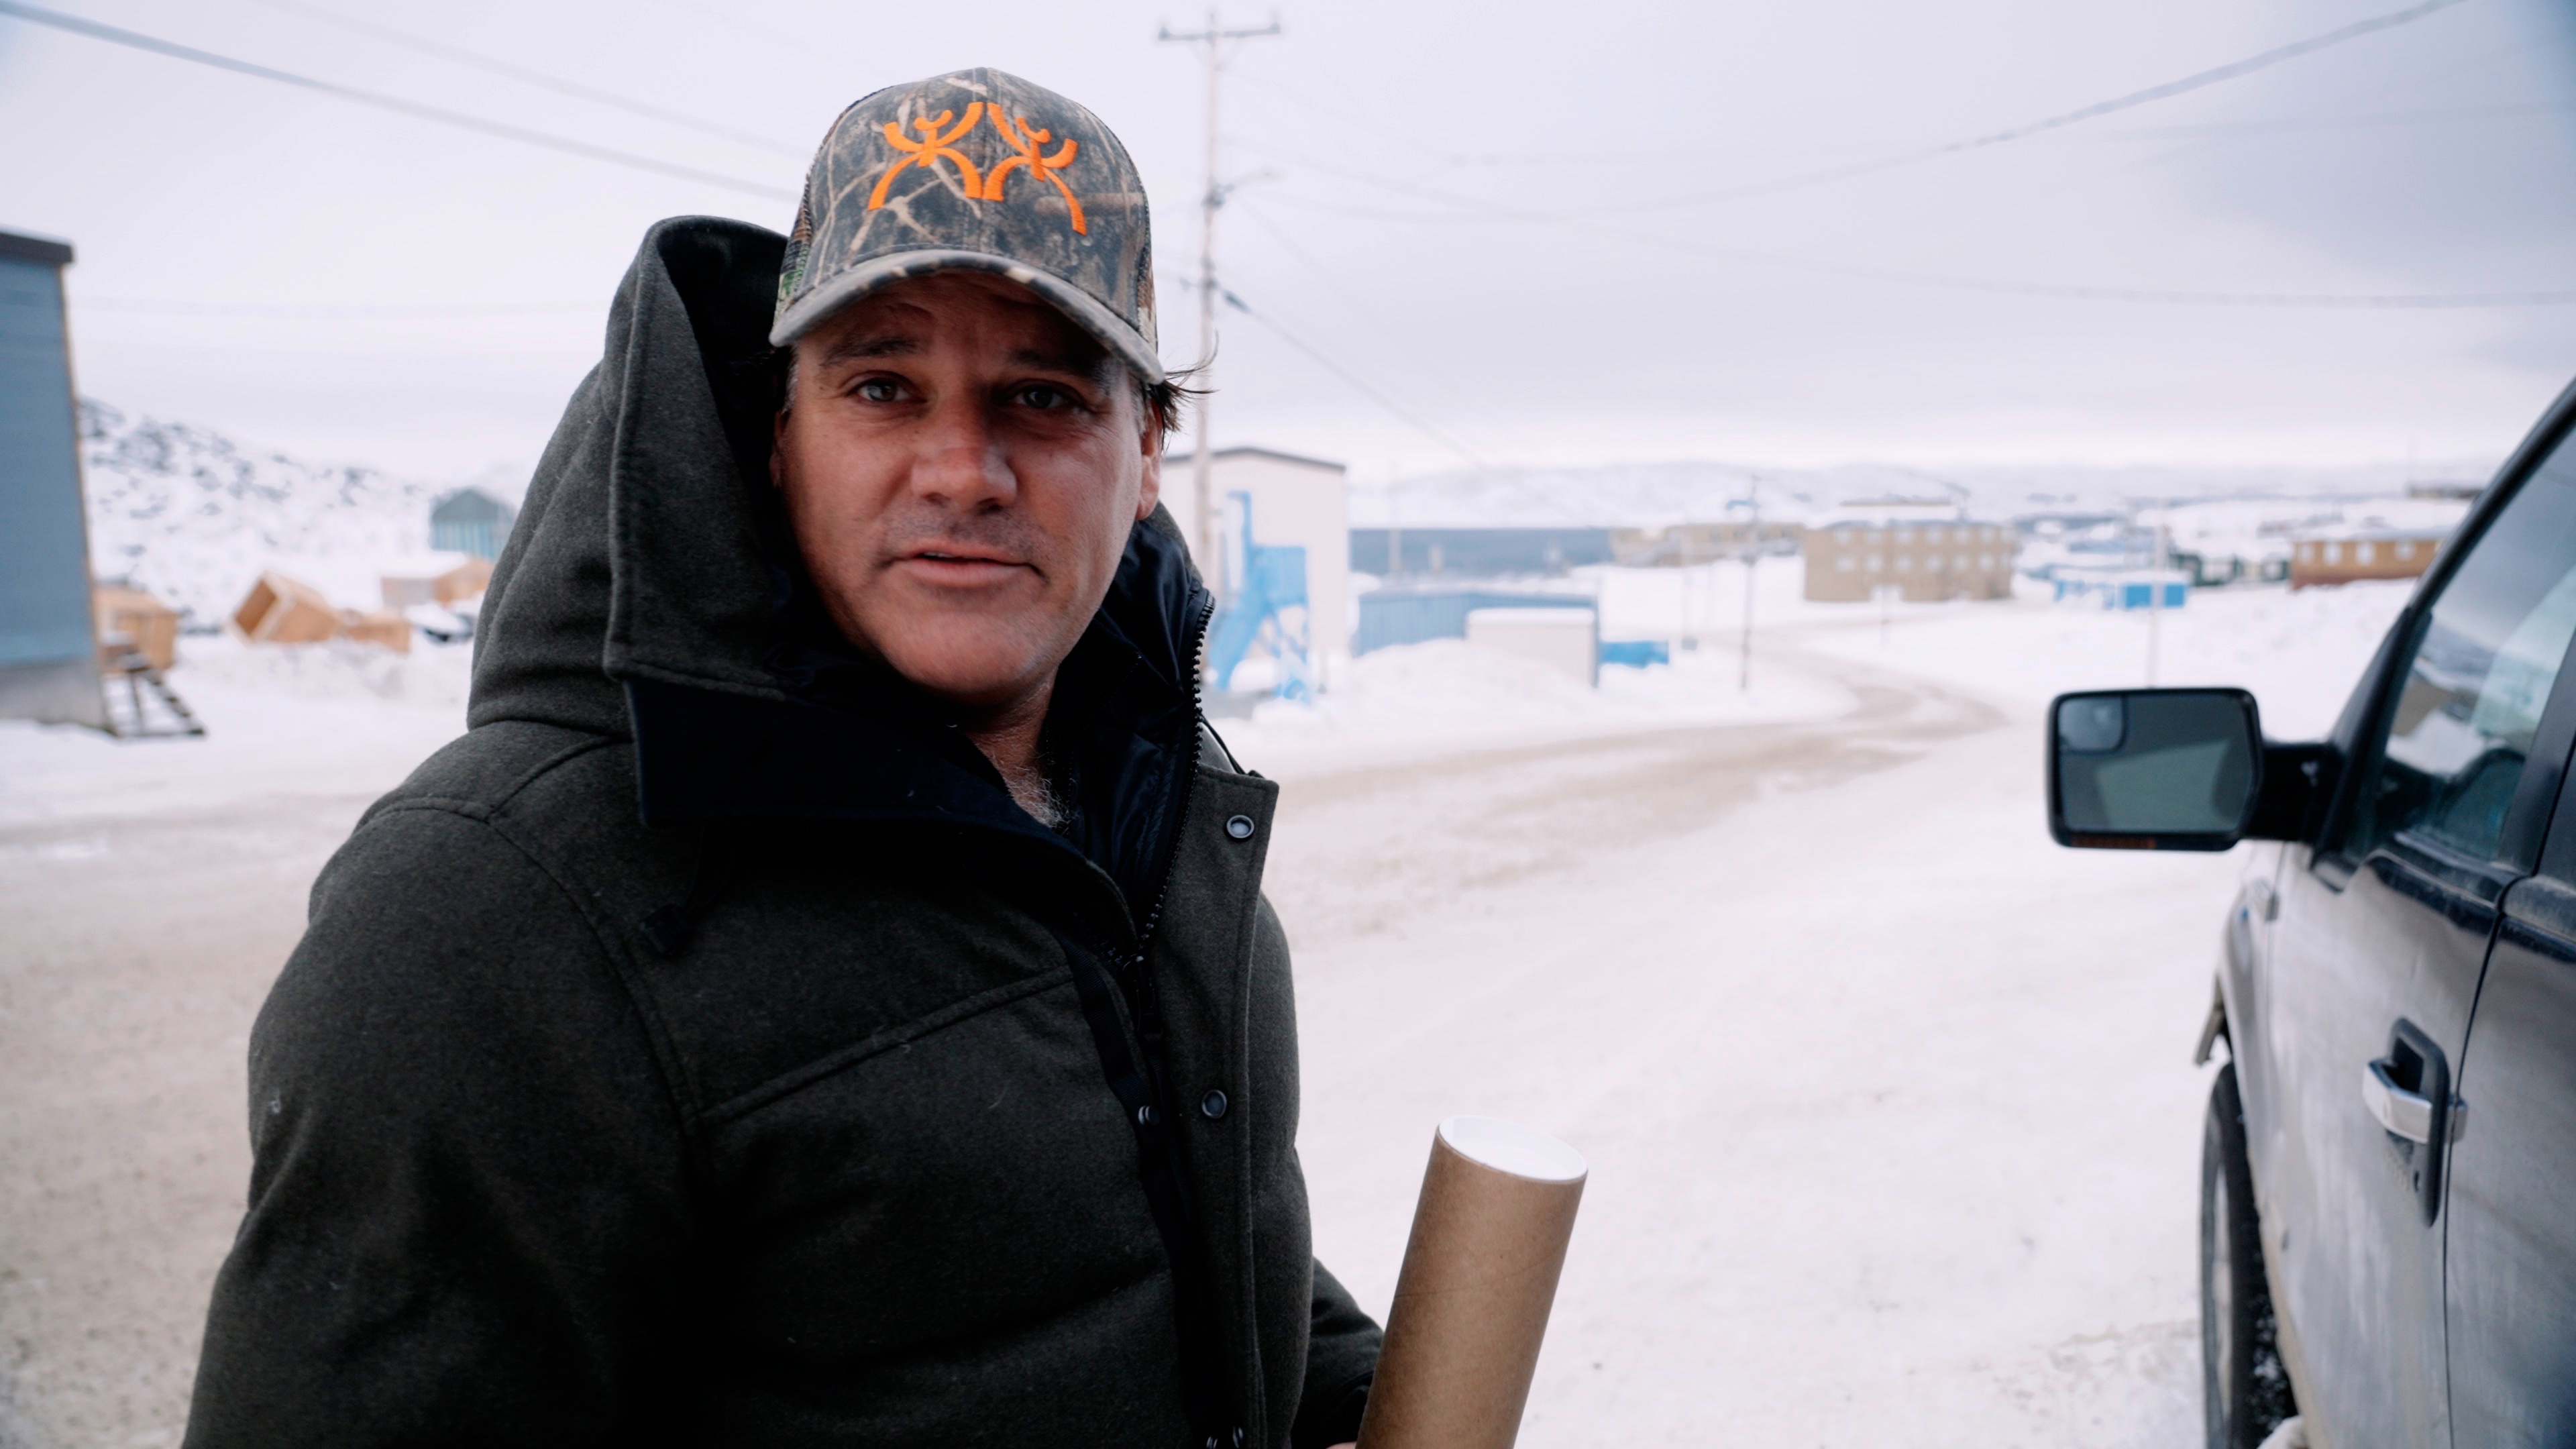
Since I purchased it, this little camera has travelled the world with me. Here are some shots from Nunavut, Canada.
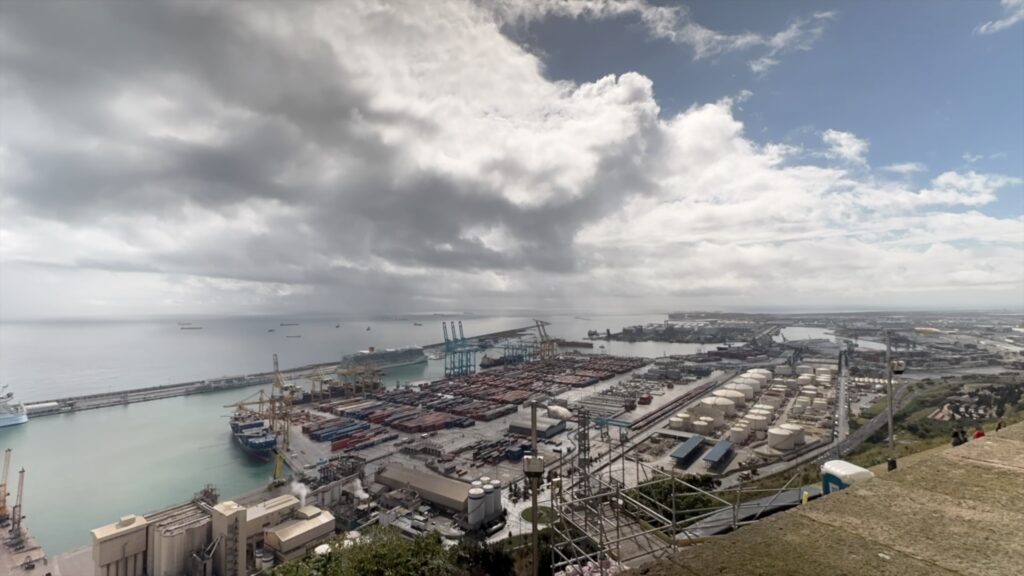
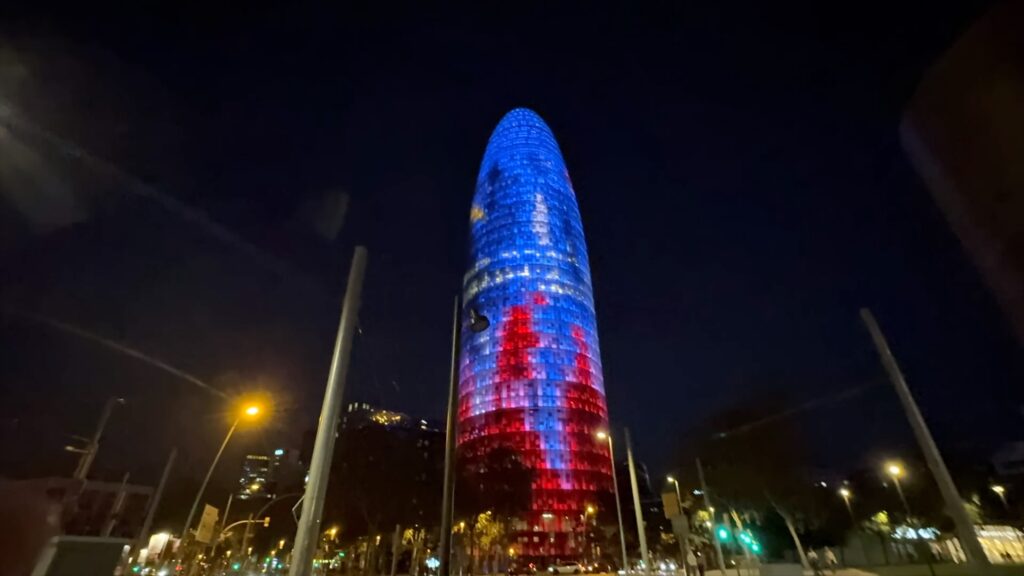
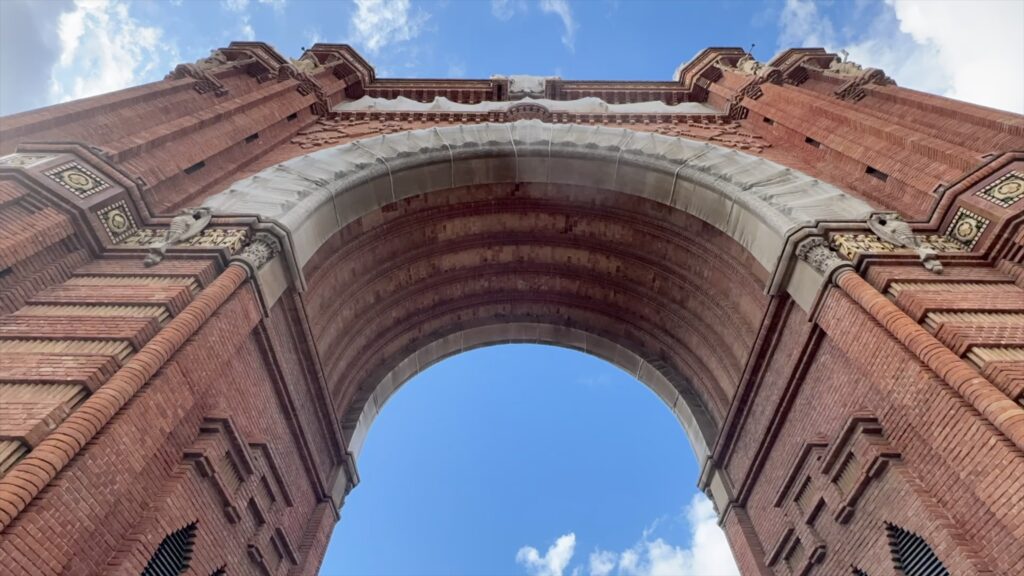
And here’s a few shots from Barcelona.
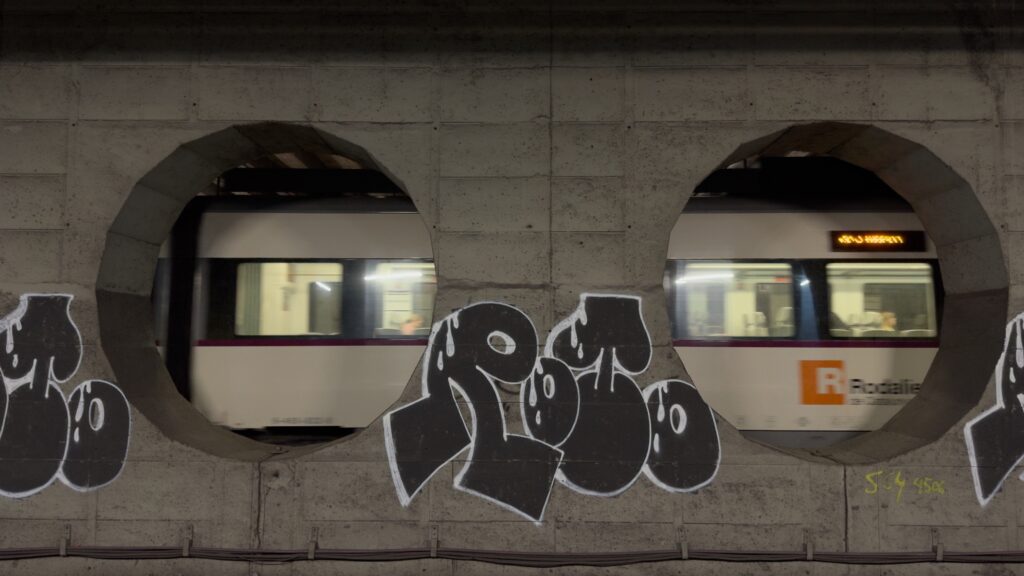
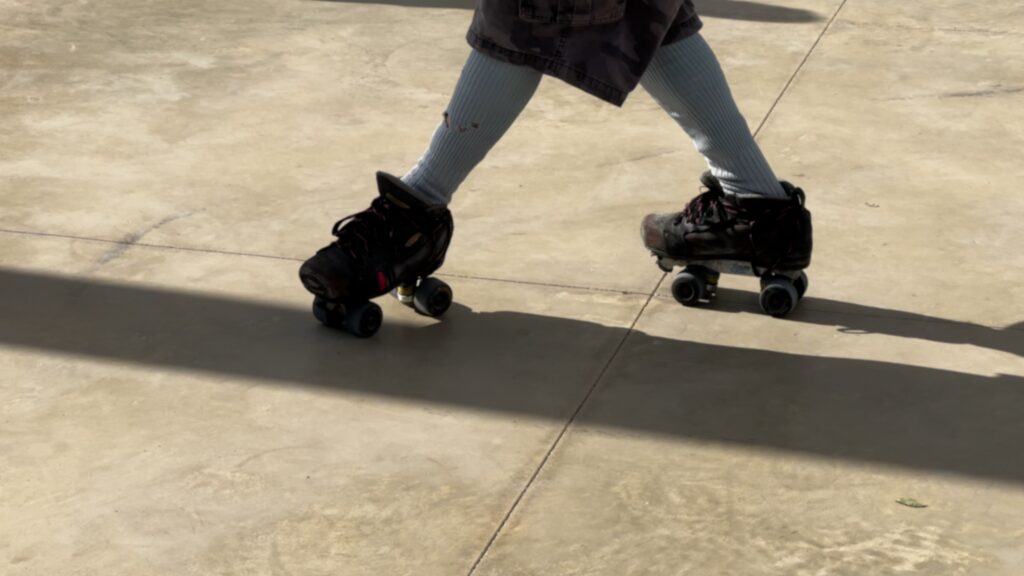
And from our family trip around Asia. I actually lost my ND filter for this one, I added motion-blur in post where I thought it was needed.
Finally, my shoot in Philadelphia.
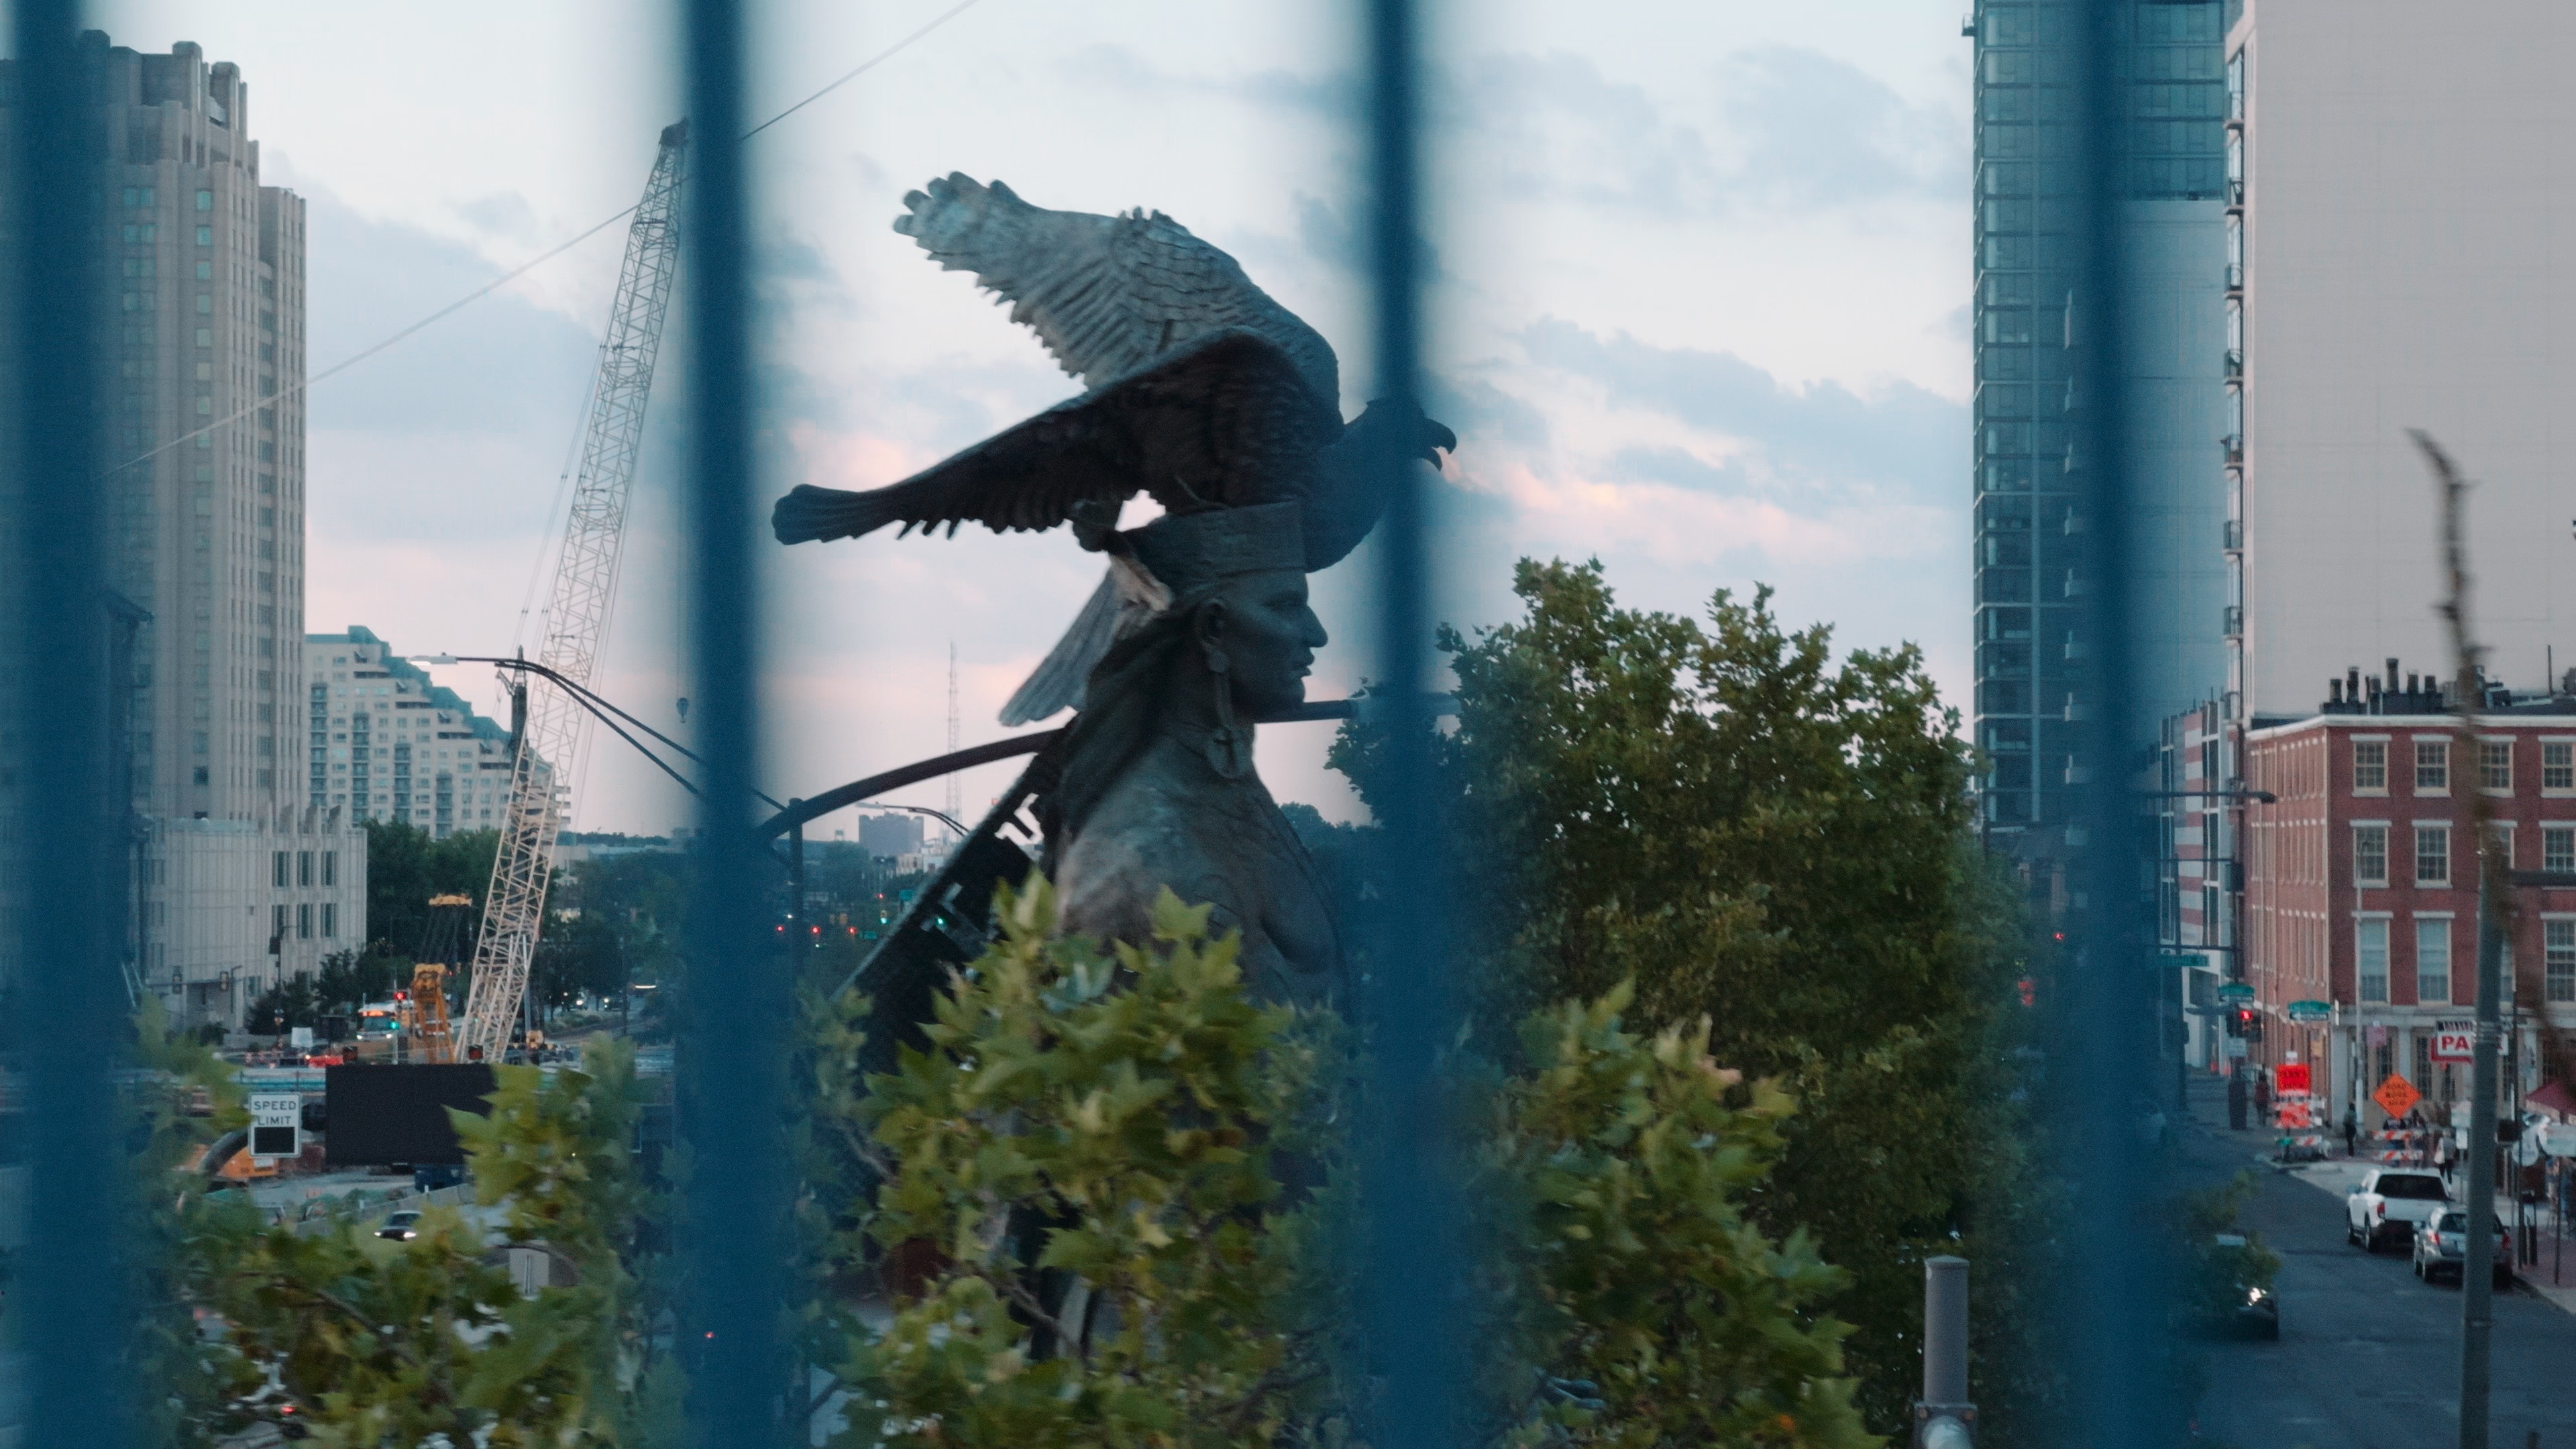


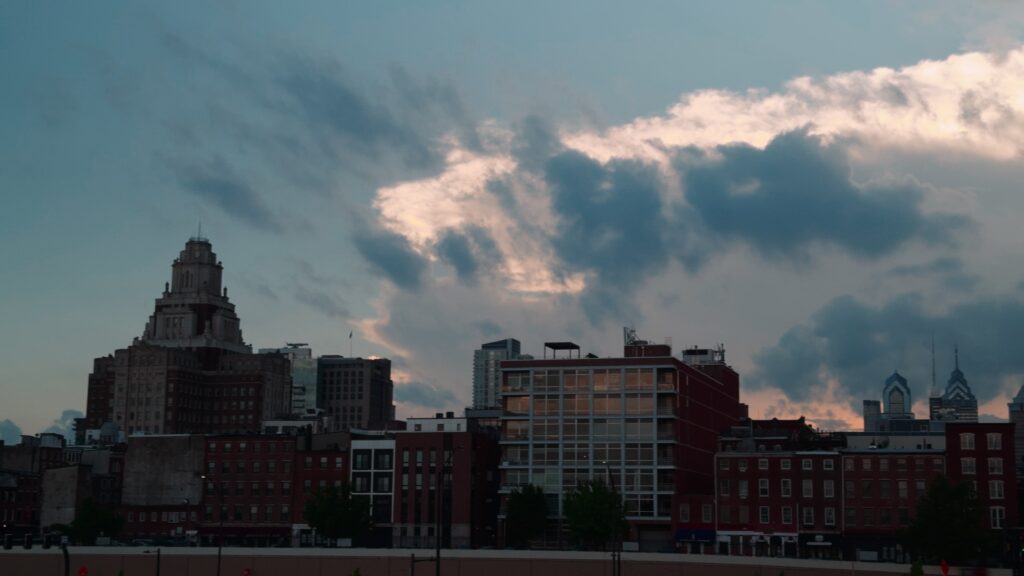
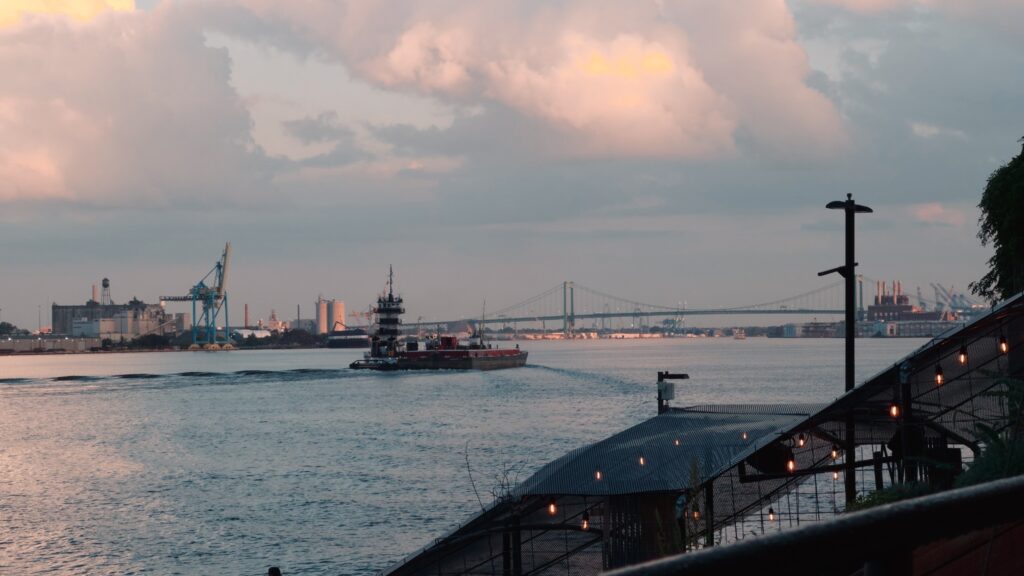
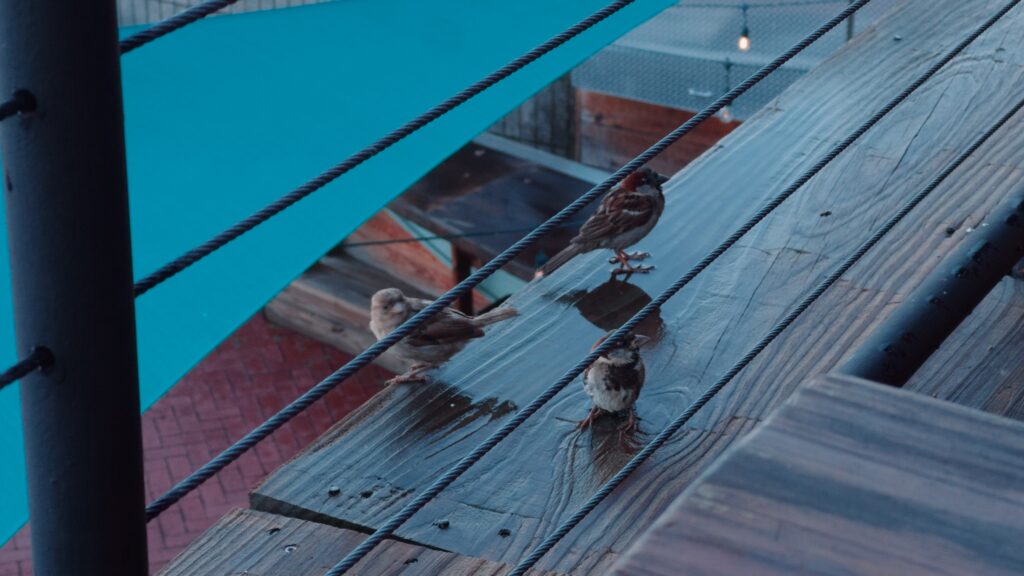
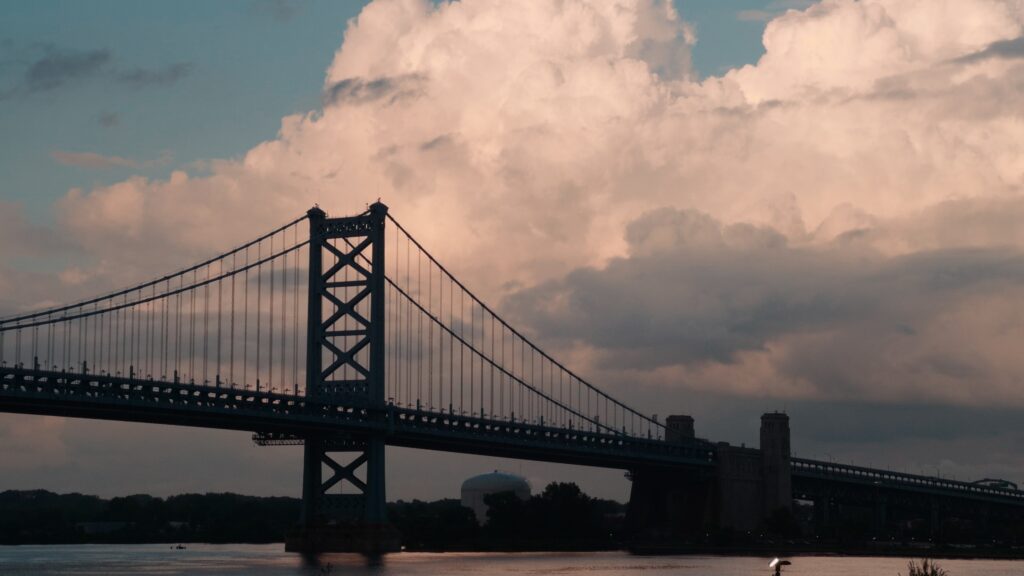
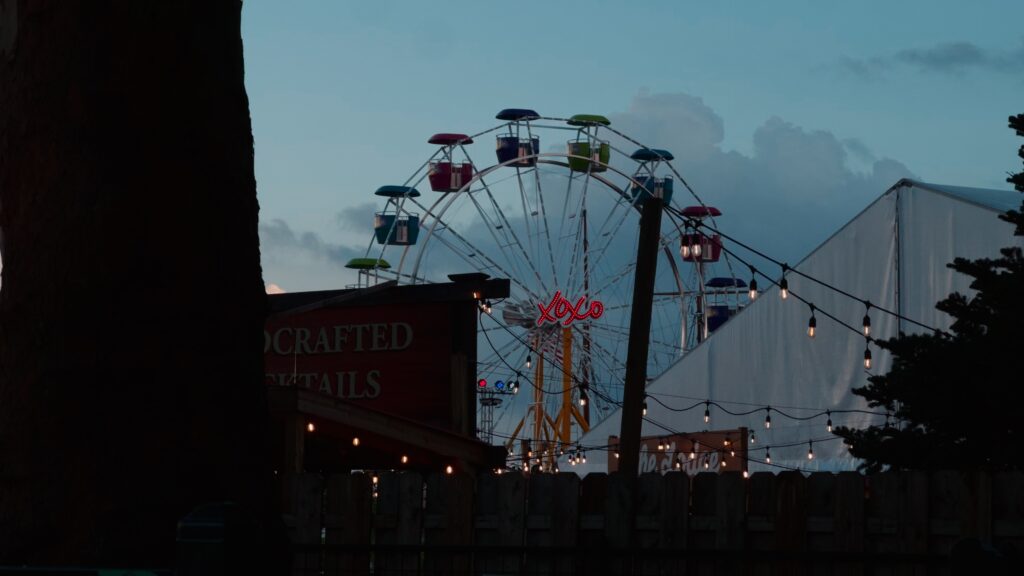

You can see I have a thing for bridges.
As a final point I’ll say that you don’t need the latest and greatest iPhone to make beautiful images. It’s wonderful that you can shoot ProRes Raw on iPhone now, and it’s wonderful that you can have an even more powerful zoom lens on the latest model, but that means adding storage to your camera and carrying around extra drives, at which point you might as well be using your “real” camera. The power of the iPhone is its discretion. It gives you access to people and places where a full-size camera would break the fourth wall. It also allows you to be mobile, capturing a lot of content in a short period of time. It’s is familiar, un-intrusive, the perfect documentary companion.
Wishing you joy telling beautiful stories.
noah